In this article, I want to show you how to do IP monitoring for free. No programming, just simple step-by-step ready-made stuff. We will need an old Android or iOS smartphone, a hosting account and a few scripts – don’t worry about the scripts, I made them for you and they are available on my site, links below. In the following, I will also show you how to set up a hosting account and the website itself, you won’t need to write any code, I did it for you. I will start by setting up a web server, a website and finally configuring a phone that will act as a camera. The main goal is to show how the old phone and the “Automate” application can be used, not the security of the monitored facility and its owner. The article is educational in nature. To work!
Website
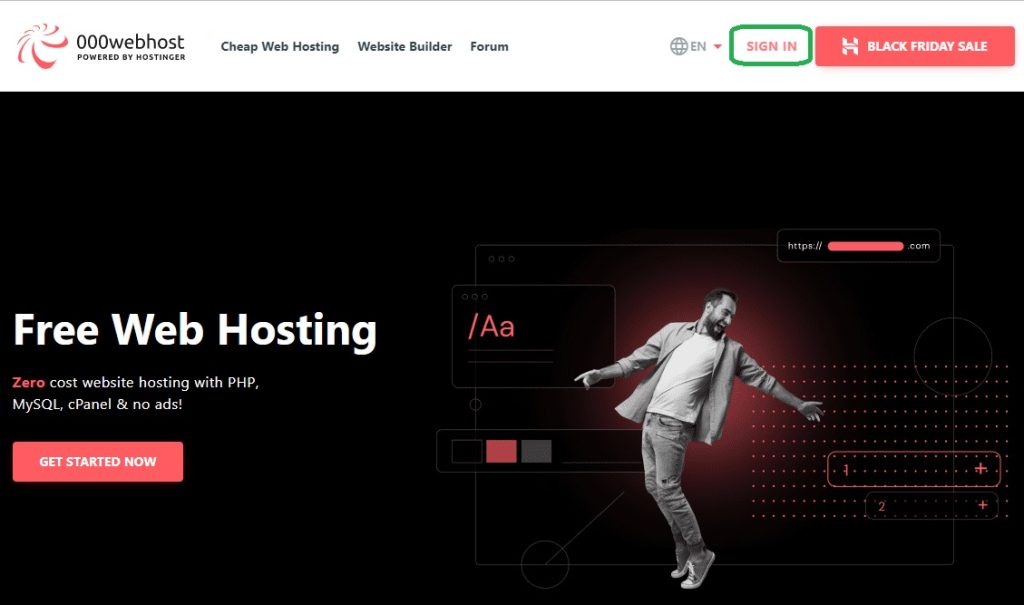
There are many free hosting accounts on the Internet with a free domain and even an SSL / TLS certificate. For this video, I searched the internet and found the https://www.000webhost.com/
This is only an example of a website provider, if you have another proven provider, it can be done on any other.
- We need to register
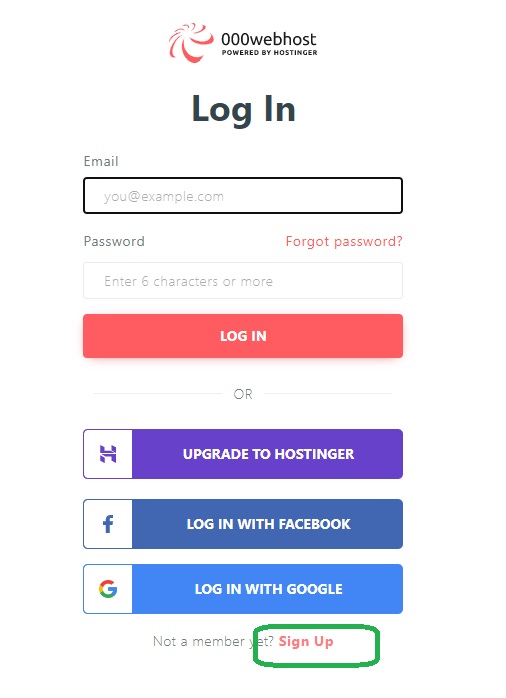
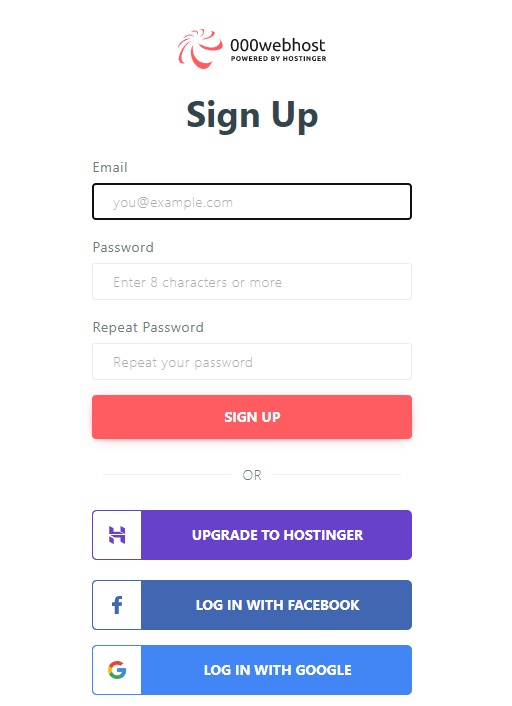
- type an e-mail address (it is required to provide an e-mail address from known domains, for example GMAIL)
- type a password.
- We will get an e-mail which is required to activate the account
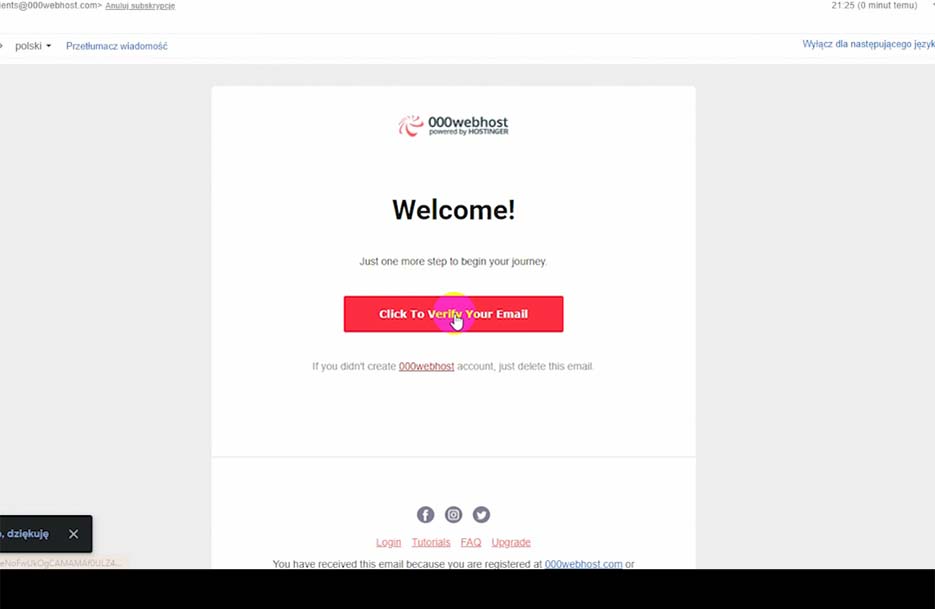
- After verifying your email address, go back to WebHost
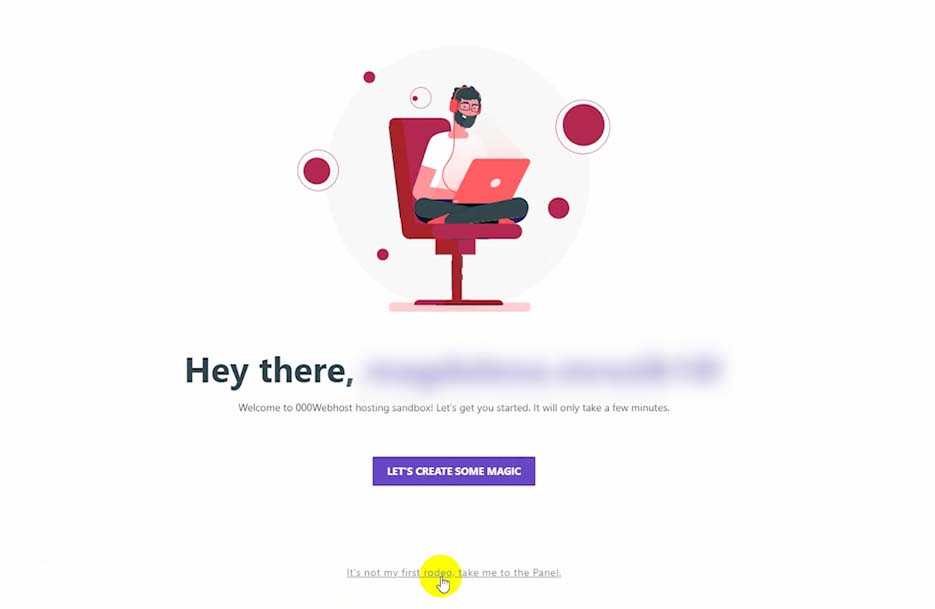
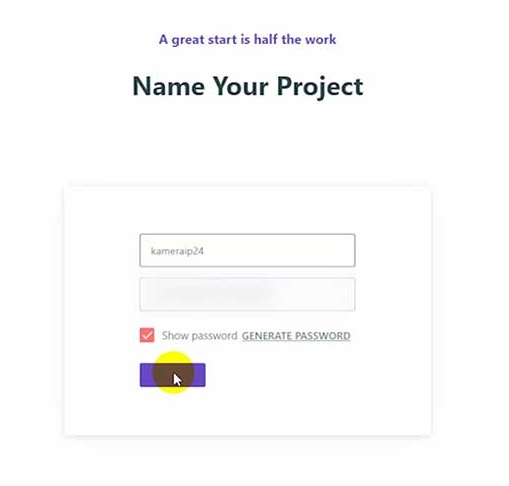
- Provide the address of our target page
- This generated password is your FTP account password. It will be used in script on the smartphone.
- Click Submit.
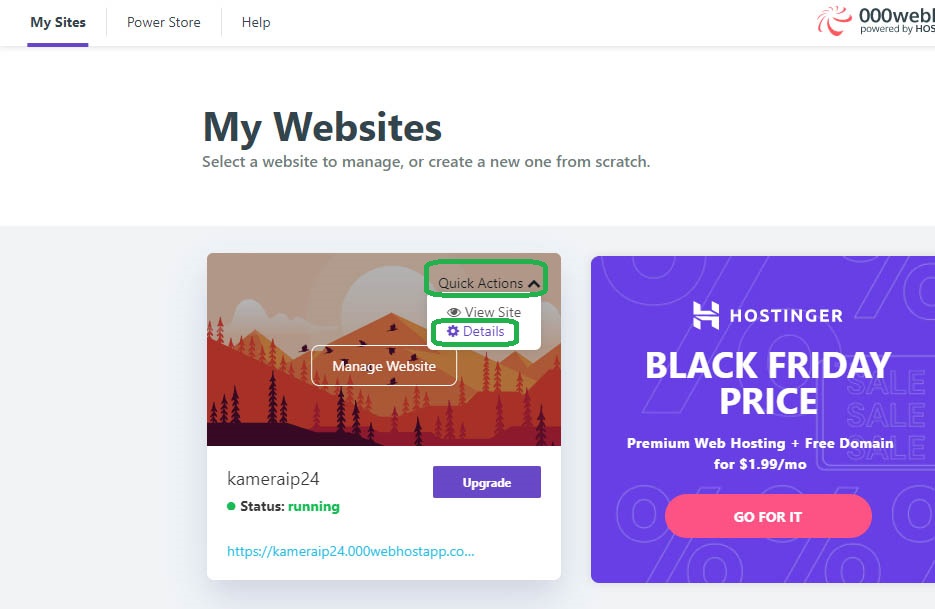
- We go back to the main page of our account on WebHost
- The panel with the status of our website is immediately displayed.
- Click “Quick Action”.
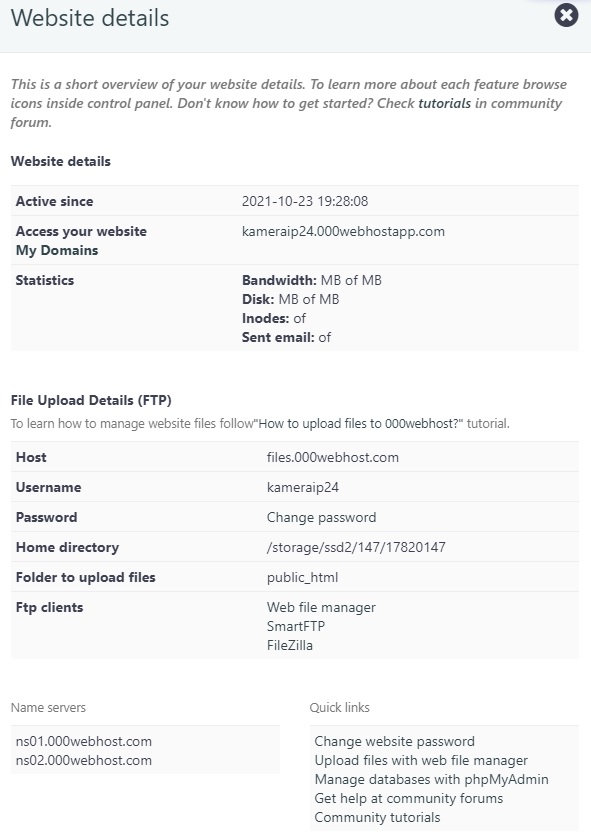
- We select page details
- The data needed for our phone script is displayed here
- our website address
- FTP server address
- Login to the FTP account
- The password for the FTP account is the same as the one when we were creating web site name – this password can be changed here
- Folder to which files should be sent
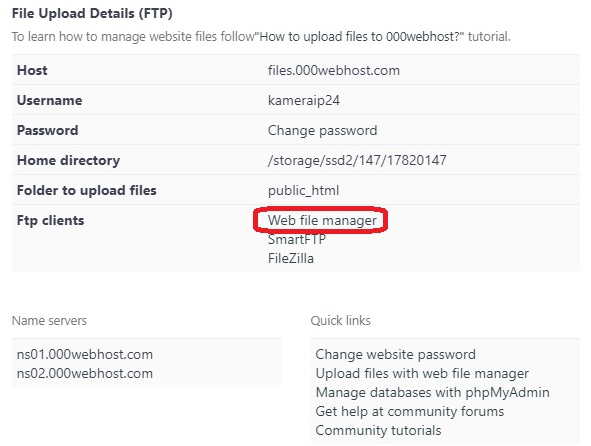
- Now let’s turn on the FTP manager to upload our website files
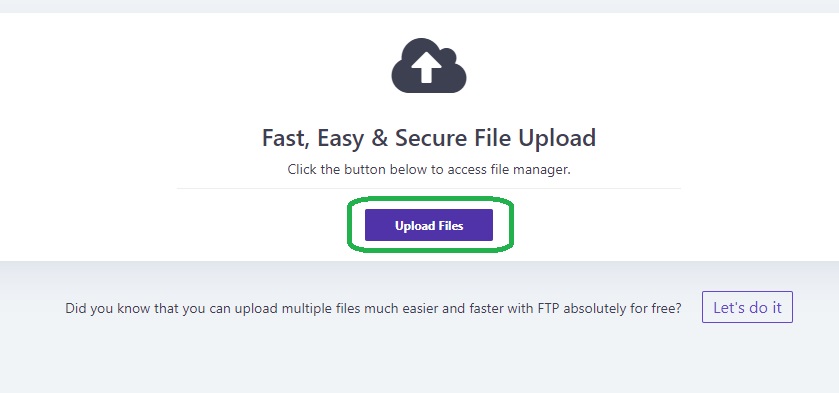
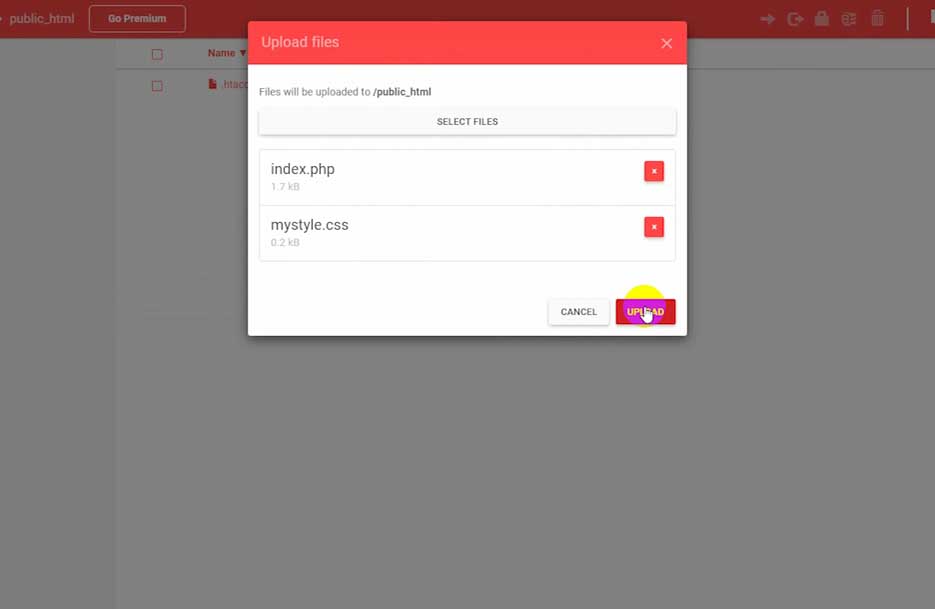
- Click UpLoad Files
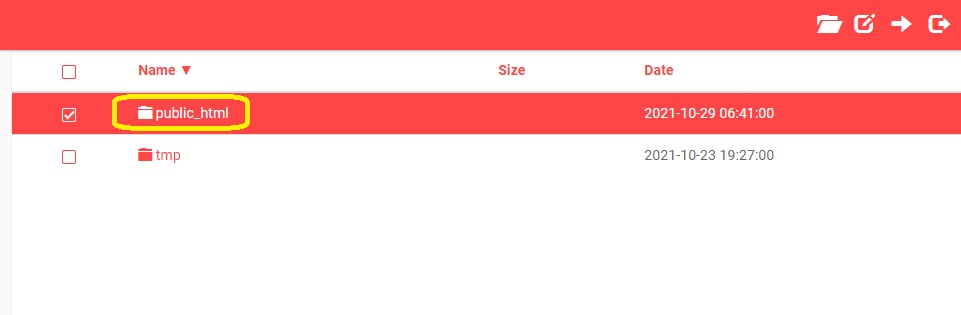
- Enter the Public_html folder.
- Choose UpLoad Files.
- Include files downloaded from my site.
- these are PHP script and page template.
- Confirm with the UPLOAD key.

- Go back to the WebHost page
- In the My Sites section, click on our website address

- And our website looks like this for now, because we haven’t sent anything to it yet

Now it’s time to configure our script on the phone
Smartphone
I think each of us has an older Android or iOS phone that is somewhere in a cupboard or on a shelf. So that old phone is going to be our camera taking pictures every few seconds or minutes. A script written in the “automate” application environment will run on the phone. It will take photos and send them via FTP to the server, where we have a hosting account and a website prepared for this project.
- In the internal memory of the phone, create a directory “Takeandsend”
- On the example of Android, we install the app from the play store
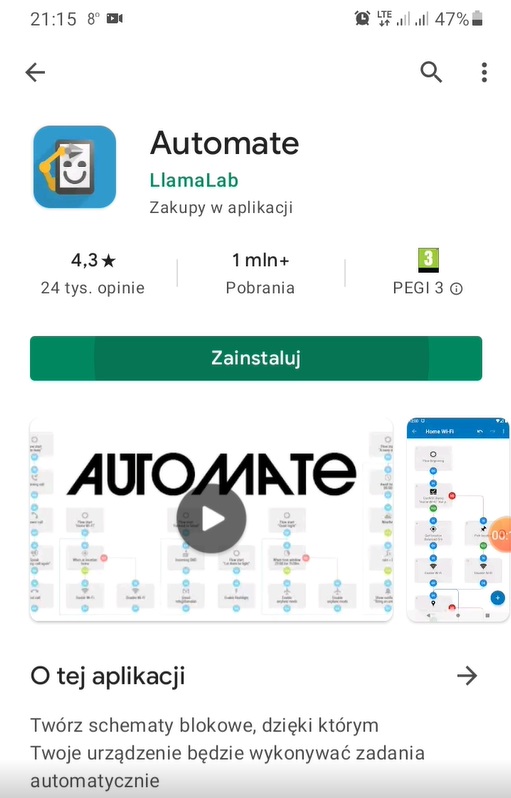
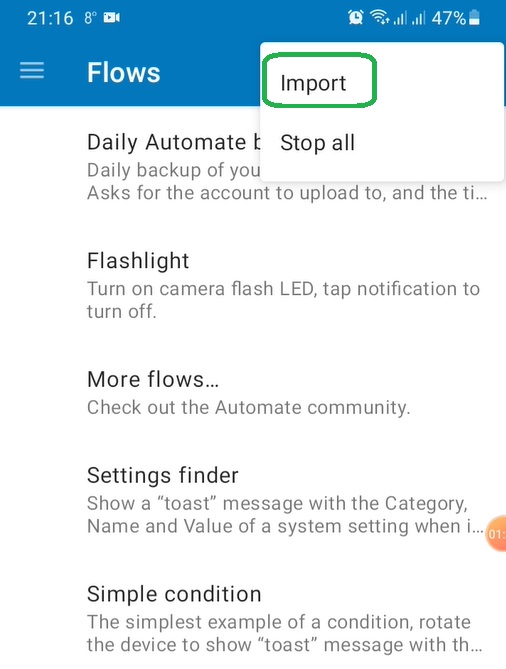
- Open the app
- Confirm the warning message

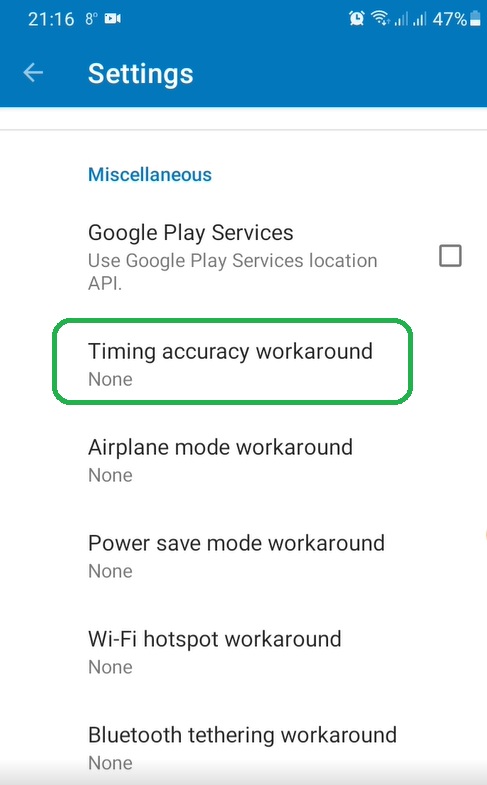
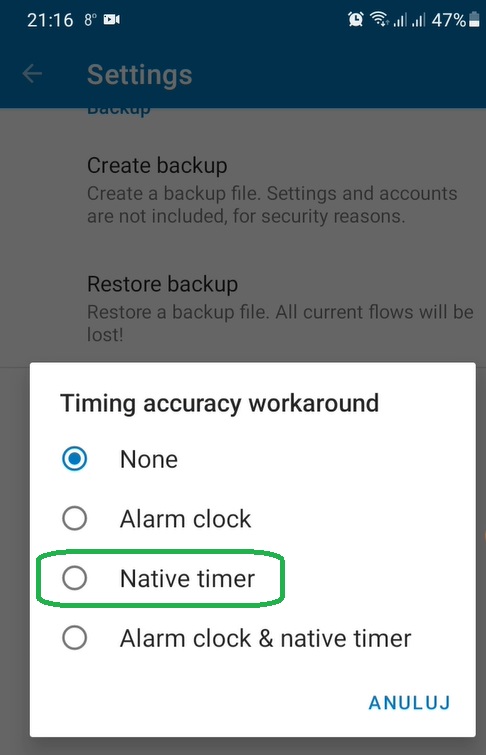
- We choose Native Timer
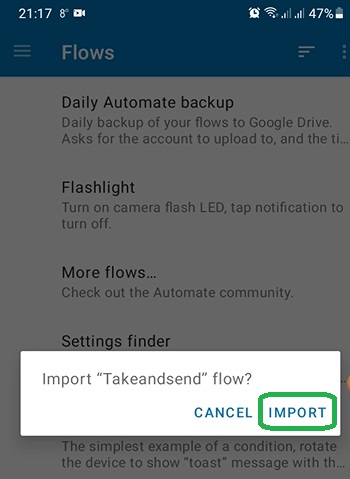
- Now we import the copied script
- We select the file from the location where we copied it
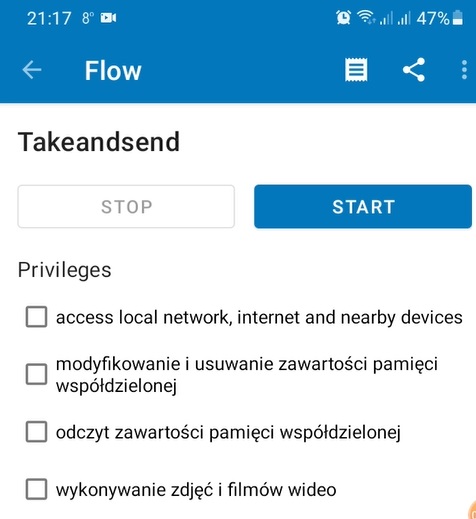
- Now we need to grant permissions, all of which are listed here
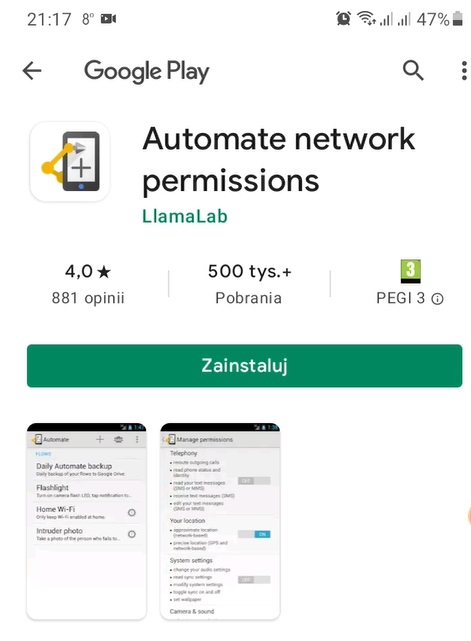
- For network access permissions, an additional extension is needed, which we also download from the Play Store (Installs quickly)
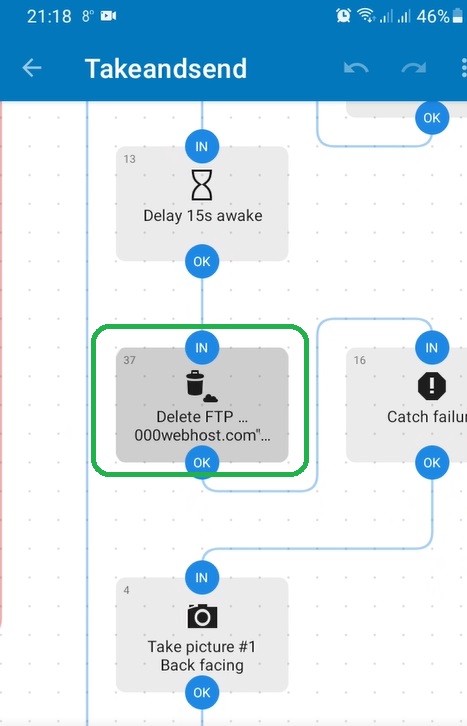
- Now we enter the block diagram of our script and enter the login and password in the blocks that perform actions on the FTP server
- The first block is “Delete FTP” – it will delete the previously copied image (to avoid running out of storage space)
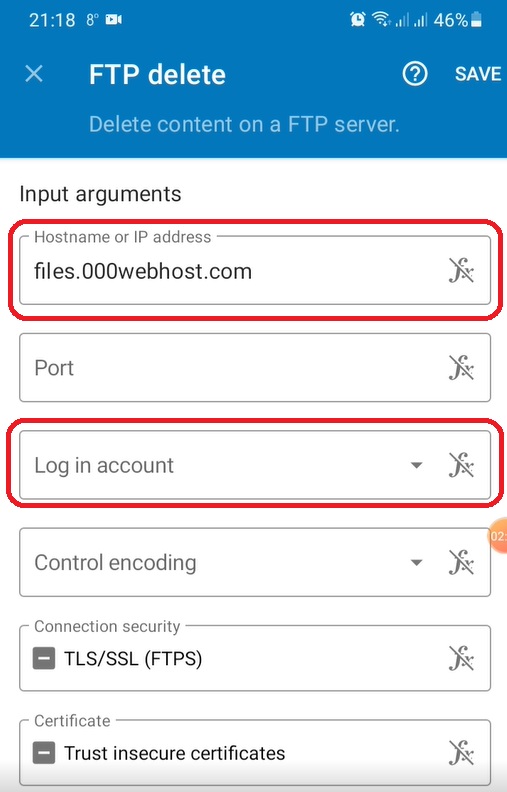
- The hostname at the top is already entered, but if you have an account on another server, remember to change this address.
- Now account details
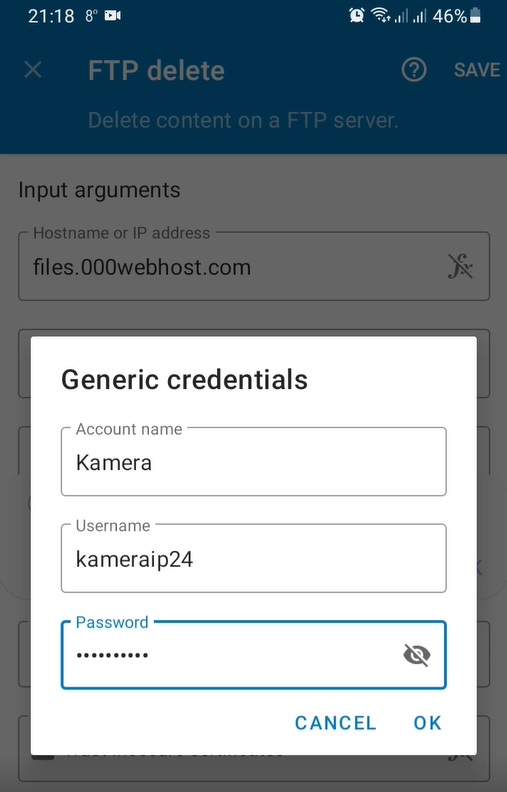
- In the first line we give the friendly name of our account
- In the second line we give the login set on the server – if someone gets lost, you can go back to the beginning of the movie where we were configuring our webpage.
- And in the last field we enter the password.
- We must do the same in the Upload FTP block
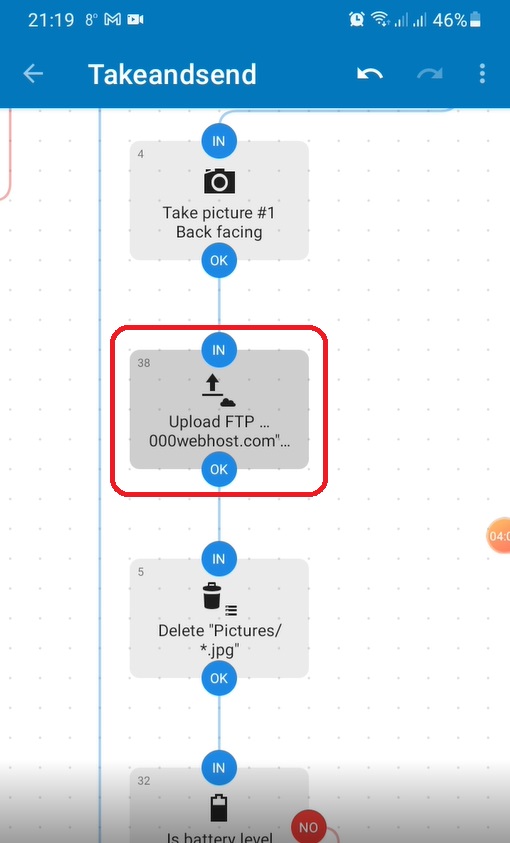
- Here it will be easier, because we can choose the account that we used previously (Its friendly name is visible)

- The last one is also the Upload FTP block, in this step we send a text file with the battery level in the phone – this will come in handy when we put the phone somewhere without a constant power source
- Here, just like before, we choose an account profile that has already been defined

(If you do not want any step in this program, you can delete it very easily, e.g. resignation from sending battery information)
- We finish editing the algorithm
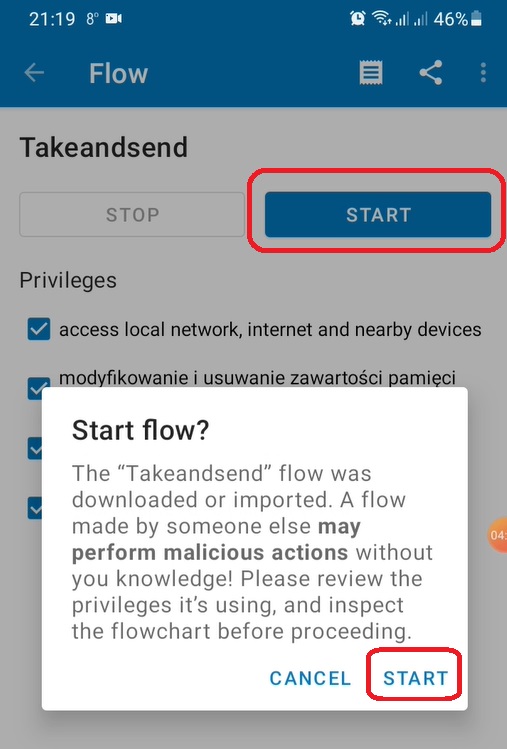
- We click start and it works
- A warning may appear to review the permissions and steps of a program that is imported or downloaded from the network.
- We have messages about deleting the file via FTP
- Taking the photo
- Uploading a photo to an FTP server
- The next step is to delete the photo on the phone – because we don’t want to run out the memory
- Then a file with the battery status is created and sent
- And finally there’s a wait for the next run – I’ve set it one minute, but you can change that as needed

- Now you need to refresh the page and you should see a photo taken by our phone, this is my example:
- Of course, the website can be viewed on a smartphone
- We place the camera in the chosen place and it works by itself.
SUMMARY
Finally, a few things.
As you have noticed, the camera must have constant access to the Internet and to power. In my case, I use the WiFi network that I have at home, and the phone is permanently connected to the charger. It will also last a lot on the battery itself, I tested it and it managed to work for a week. This may come in handy if we are leaving and we know that we will have time to come back within these 7 days.The preview of your monitoring, in order to ensure maximum ease of configuration and use, is available from anywhere in the world without logging in. It’s kind of stupid, but note that the website address is not available in the Google search engine, because you did not register it there. Actually, it will only go in there the person who knows this address. The image from the camera itself does not tell anyone much. So for personal use such a solution may be helpful. After what I said in the introduction, the whole solution that I showed is educational in nature. The mere use of the “Automate” application and its capabilities may inspire you to create other useful solutions. Thanks for watching, see you soon! Hi.